Guitar Accessories You’ll Need As A Student
Essential guitar accessories every student should have
When I first started my guitar journey, I honestly thought all I needed was the guitar itself. That’s it pick it up and start learning. But after I got my first guitar and went to my very first lesson, I quickly realized something important: the guitar alone is not enough to start this journey.
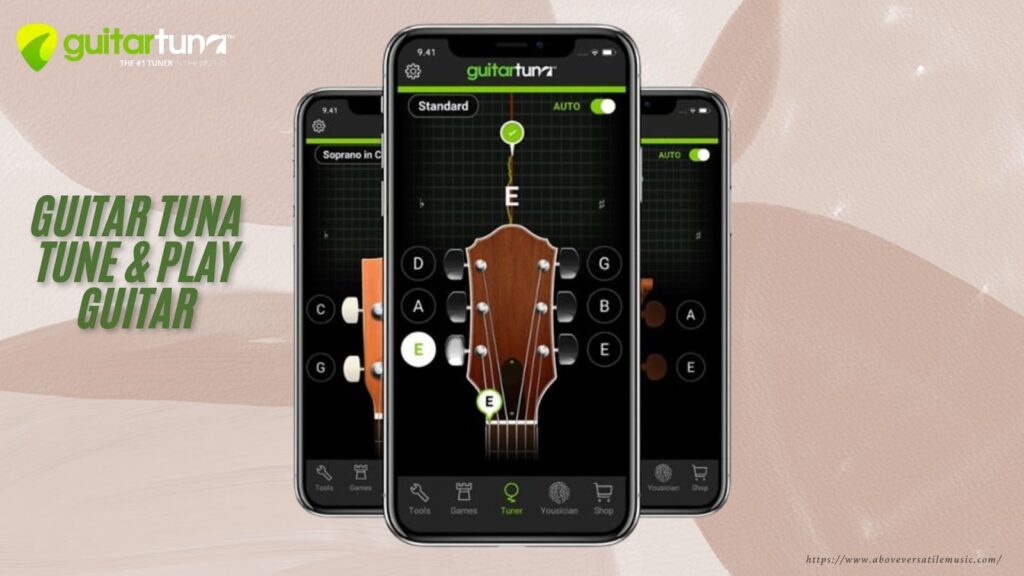
For example, in that very first lesson, my teacher asked me to tune the guitar. That’s when it hit me: “Okay… how do I even do that?” I couldn’t play properly until my guitar was in tune. I realized how important tuning actually was. My teacher asked everyone to tune their guitars before starting, and that’s when I noticed most of my friends were already using the GuitarTuna app on their phones.
So, right there in the classroom, I downloaded it. That app is still with me to this day. Honestly, for beginners, it’s one of the best free tools out there. Not only does it help you tune quickly and accurately, but it also includes chord libraries, a built-in metronome, and even practice games to train your ear.
Some people prefer tuning by ear, and yes, that’s a great skill to develop over time. But in the beginning, I strongly recommend using a tuner. It saves you from frustration, makes sure your guitar always sounds right, and helps you build confidence in your practice.
👉 My advice: don’t repeat the mistake I made. Get a tuner from the start whether it’s a clip on tuner or the GuitarTuna app on your phone. It’s the first essential accessory every beginner guitarist should have.
Then, as I continued, I discovered more. Whenever I had to take my guitar anywhere to lessons, friends’ houses, or even just keeping it safe at home I realized I needed a guitar case. Without it, I was always worried about scratches, bumps, or damage.
When I started practicing techniques, I also noticed how important picks are. At first, I thought any little piece of plastic would do the job. But no the right pick makes playing smoother, easier to hold, and helps you build control when strumming or learning new techniques. Personally, from the start until now, I’ve always used the Dunlop Jazz III Max-Grip pick.
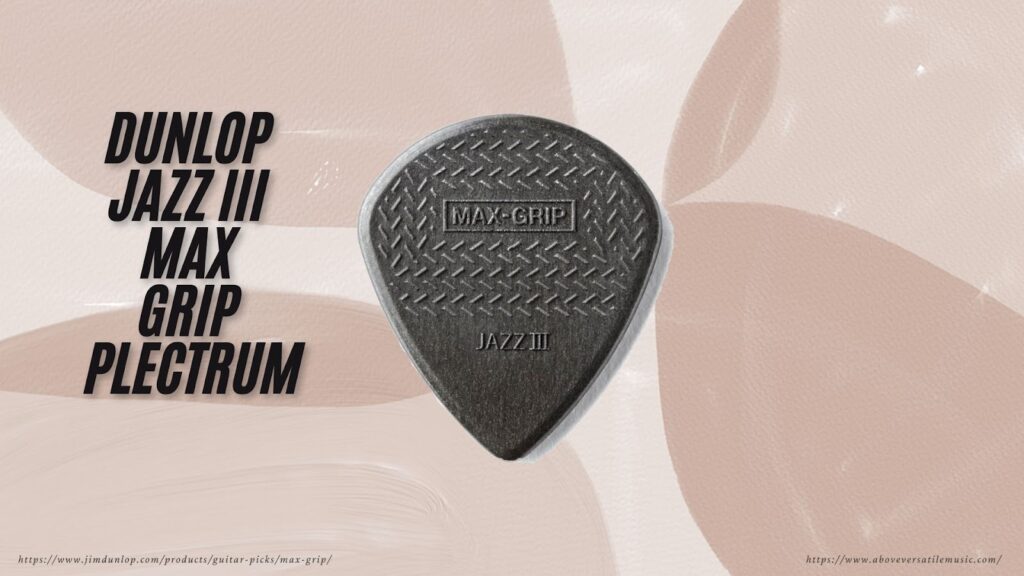
Why? Because my teacher used it, and I trusted his experience. I saw how comfortable it was for him, so I decided to stick with it too. For me, it feels perfect in my hand and gives me great grip and control. But here’s the thing I’m not saying this pick is the best one for everyone. Every guitarist has their own comfort zone. You should experiment and see which pick feels right for you, because the right grip makes learning and playing so much And of course, strings. When I first started, I had no idea how much of a difference strings could make in both sound and playability. At the beginning, strings just felt like “wires on the guitar,” but over time I realized they are one of the most important parts of your instrument.
I still remember the first time I broke a string while practicing. I was worried and had no idea what to do next. That’s when my teacher stepped in and introduced me to a set of strings that completely changed my playing experience: Elixir Phosphor Bronze Acoustic Guitar Strings.
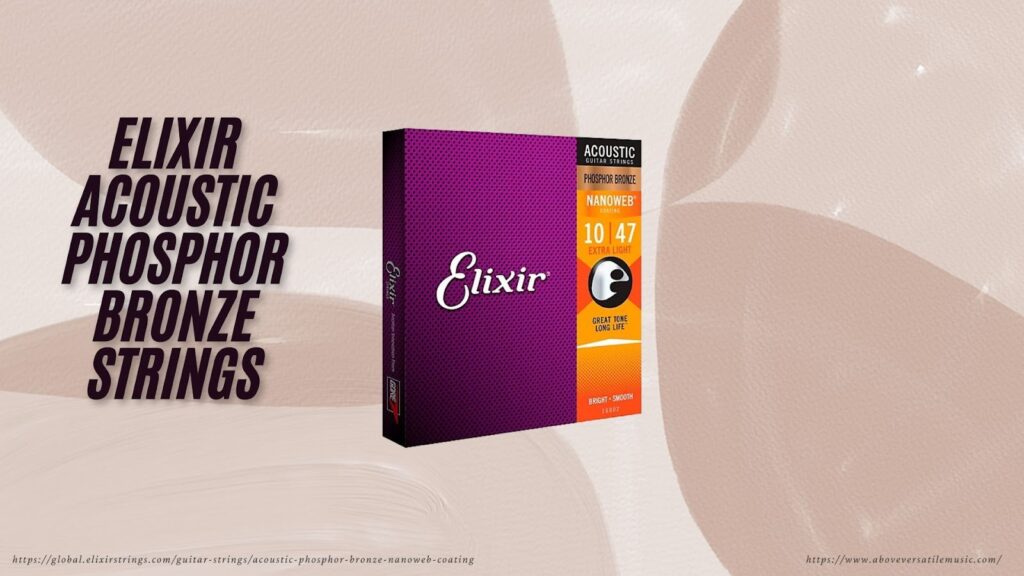
From the moment I tried them, I fell in love with their smooth feel and warm, rich tone. They made practicing more enjoyable and gave me the confidence to improve my techniques. At that time, I didn’t even know much about string gauges — we’ll talk more about gauges in another article — but I just knew these strings felt right for me.
Even today, whenever I need to put a fresh set of strings on my acoustic guitar, I always prefer Elixir Phosphor Bronze. They were the strings that helped me grow as a guitarist, and I still trust them for their comfort, durability, and beautiful tone.
👉 For beginners: don’t overlook your strings. The right set can make your practice sessions smoother, inspire you to play longer, and help you develop your style faster.
Finally, the capo. Now here’s my honest experience: in the beginning, I chose not to use a capo. Why? Because I wanted to challenge myself to play songs without shortcuts, especially when it came to barre chords. For me, that made me stronger as a guitarist. But I won’t deny — for many beginners who just want to enjoy playing songs with friends or family, a capo is a really useful tool. Some songs don’t even sound right without it. So while I avoided it early on, I still recommend students get one, because eventually you’ll need to use it.
So that’s my point: when you’re starting guitar, don’t just think about buying the guitar alone. Think about the accessories that will actually make your journey easier, smoother, and more enjoyable. In this article, I’m going to break down each accessory I used, learned about, and recommend for you as students. I’ll share my personal experience with each one so you can decide what’s best for your own journey.
👉 Let’s start talking about the essential guitar accessories every student should have.
These simple tools not only protect your instrument but also help you play better and develop proper habits from the beginning.
1. Tuner – Keeping Your Guitar in Tune ( H2)
One of the first habits every guitarist should learn is tuning. Even the best guitar will sound bad if it’s out of tune, and nothing kills motivation faster than hearing chords that don’t sound right. That’s why a tuner is an essential accessory.
🎶 Why It Matters
Beginners usually can’t tune by ear right away — it takes practice. A tuner shows if your string is flat (too low) or sharp (too high) and guides you to the correct note. This not only keeps your guitar sounding good but also trains your ears over time.
🎸 Standard Tuning (EADGBE)
From thickest to thinnest string:
E – A – D – G – B – E.
👉 Easy reminder: Every Amateur Does Get Better Eventually.
📏 440 Hz Standard
Most tuners default to A = 440 Hz — the international pitch standard. Keeping it there ensures your guitar matches other instruments, backing tracks, or bands.
🛠️ Types of Tuners
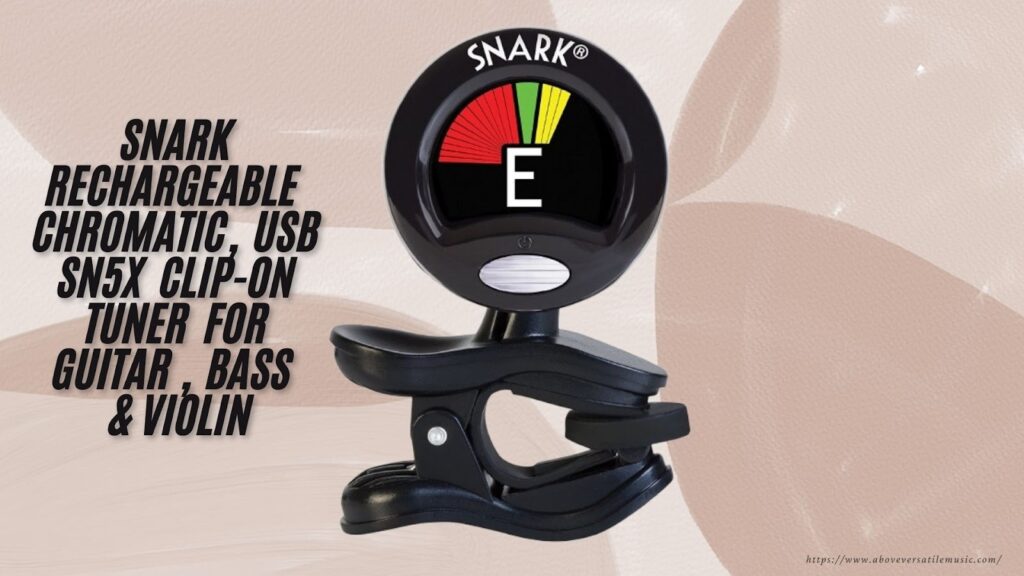
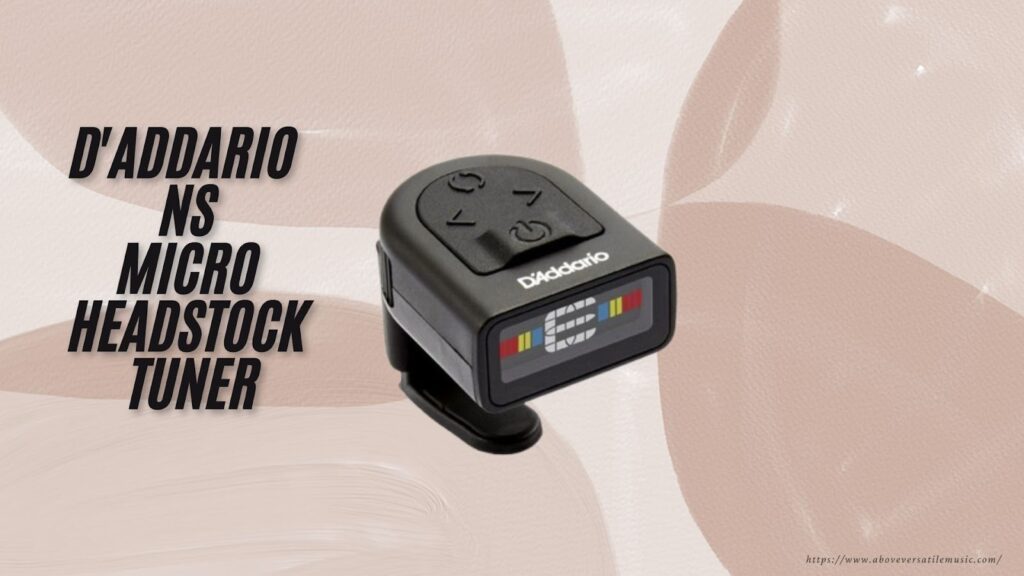
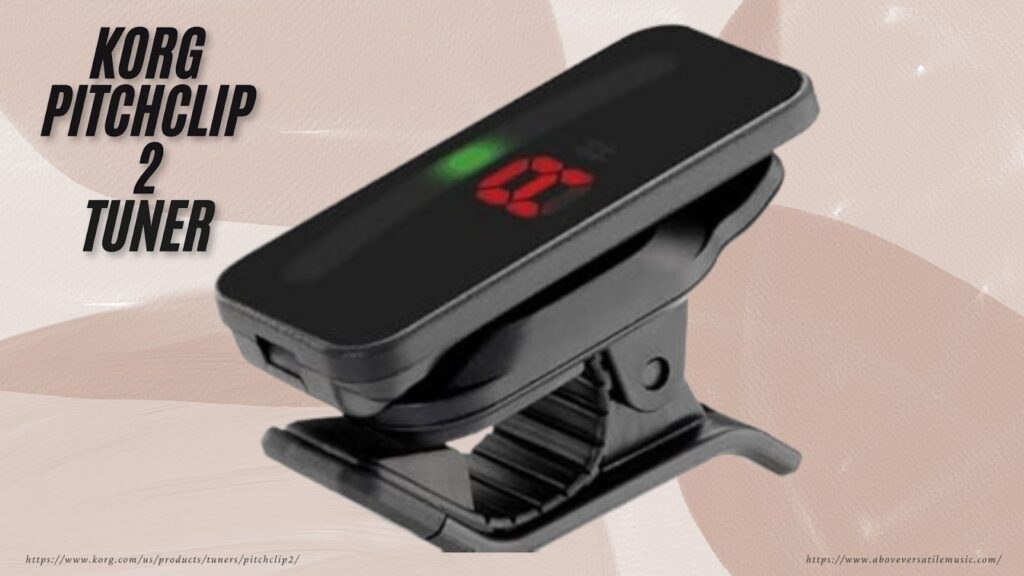
· Clip-On Tuners: Attach to your headstock, read vibrations, and work even in noisy places. Great for beginners.
👉 Popular: Snark SN-5X, D’Addario NS Micro, Korg Pitchclip 2.
· Pedal Tuners: For electric players, precise but mainly for stage use.
App Tuners: Free and convenient, though less reliable in noisy rooms.
👉 Try GuitarTuna by Yousician — easy, accurate, and comes with a free metronome and chord library.
🔑 How to Tune (Step by Step)
1. Clip the tuner on (or open the app).
2. Pluck one string at a time.
3. Adjust the tuning peg until the tuner centers on the correct note.
o Flat (left) → tighten the string.
o Sharp (right) → loosen it.
4. Repeat for all six strings: E–A–D–G–B–E.
👉 Tune slowly — especially with thin strings, since turning too far can break them.
💡 Quick Tips
· Tune before every practice session.
· Always start from the Low E string.
· Old strings don’t stay in tune well — replace them regularly.
· Keep a backup app tuner on your phone, even if you own a clip-on.
✅ Best for Beginners: A simple clip-on tuner (like Snark or D’Addario NS Micro). Affordable, reliable, and always ready to go. Use GuitarTuna as a free backup.
2. Case – Protect Your Guitar
Your guitar isn’t just an instrument — it’s part of your journey. Even an entry-level guitar deserves protection, and a proper case keeps it safe from bumps, weather, and accidents. Think of a case as your guitar’s personal home.
Why You Need a Case (H3)
· Protection from Damage: A case absorbs shocks and prevents scratches, dents, or cracks.
· Weather Safety: Guitars are sensitive to heat, cold, and humidity — a case helps shield them.
· Safe Storage: No more worrying about someone knocking it over when it’s on a chair or bed.
· Travel Convenience: Easier and safer to carry to lessons, school, or trips.
Types of Cases
· Gig Bags (Soft Cases): Lightweight, affordable, with backpack straps and pockets. Perfect for students.
· Hard Cases: Heavy but strongest protection, ideal for travel or expensive guitars.
· Hybrid Cases: Middle ground — sturdier than gig bags, lighter than hard cases.
How It Helps Beginners
· Lets you practice anywhere by carrying your guitar safely.
· Keeps accessories organized in built-in pockets.
· Gives peace of mind so you can focus on learning.
Pro Tips
· Always close the case properly.
· Avoid leaving guitars in hot cars (even in cases).
· Choose padded gig bags over thin fabric ones.
· Store your guitar in its case at home to prevent dust and accidents.
👉 For most beginners, a padded gig bag is the best choice — light, affordable, and practical. If you travel often or upgrade to a pricier guitar, consider a hard case for extra safety.
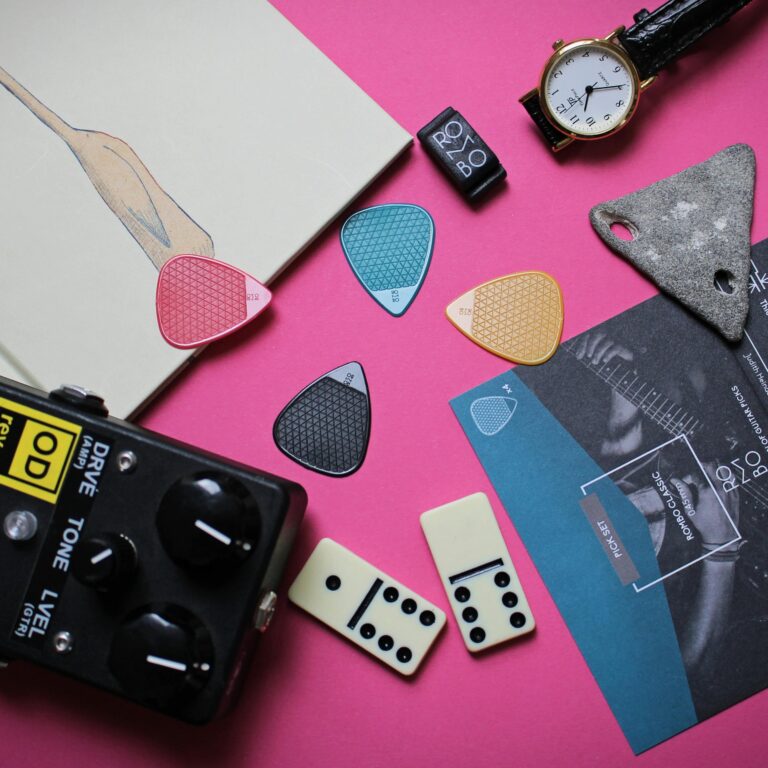
3. Picks – Small but Powerful Tools (H2)
A guitar pick may look like a tiny piece of plastic, but for beginners it’s a game-changer. The right pick makes strumming smoother, builds technique, and saves your fingers from soreness.
Why Use Picks(H3)
· Comfort: Softer on your fingers than direct strumming.
· Consistency: Helps your playing sound even.
· Technique: Essential for learning picking patterns and strumming control.
Pick Thickness (Gauge)
· Thin (0.46–0.6mm): Flexible, bright tone, best for beginner strumming.
· Medium (0.7–0.9mm): Balance between chords and picking, great for exploring both.
· Heavy (1.0mm+): Precise, good for solos — not ideal for beginners.
👉 Beginners should start with thin or medium picks (0.6–0.73mm) for comfort and smooth strumming.
Shapes & Grip
· Standard: Best for beginners.
· Triangle: Larger, easier to hold.
· Jazz (small): Precise, better for advanced players.
Hold the pick between your thumb and index finger with just the tip showing. Stay relaxed — gripping too hard makes strumming stiff. Textured grips can help if your fingers slip.
Basic Strumming with Picks
· Downstrokes (↓): Simple, steady rhythm.
· Upstrokes (↑): Adds groove and flow.
· Alternate (↓ ↑ ↓ ↑): Teaches timing.
Beginner Patterns:
· 4 Downstrokes per bar – great starter rhythm.
· Down, Down-Up, Down-Up – used in many songs.
· Down, Down, Up, Up, Down – builds coordination.
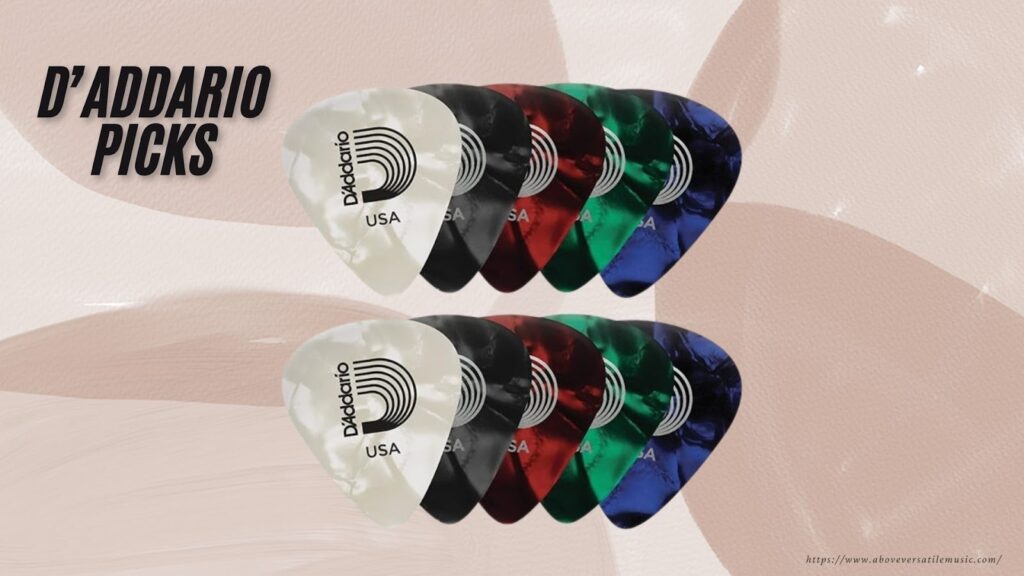
Recommended Picks: D’Addario
· Durable, affordable, and available in all gauges.
· Mixed packs let you try different thicknesses.
· Medium sets (~0.7mm) are perfect for students.
Tips for Students(H3)
· Always keep spares (they’re easy to lose).
· Start with one thickness, then experiment.
· Let the pick glide — don’t press too hard.
· Dropping picks is normal, even for pros.
👉 In short: Start with a thin or medium standard pick. If you want something reliable and affordable, D’Addario is a safe bet for beginners.
4. Strings – The Heart of Your Guitar’s Sound
Strings are the real voice of your guitar. Even with the best instrument, bad or worn-out strings can make your sound dull and your practice uncomfortable. For beginners, the right strings are especially important; they affect tone, comfort on your fingers, and how quickly you grow.
Why They Matter for Beginners:
- Comfort: Softer, smoother strings make practice less painful while your fingertips are still developing calluses.
- Tone: Fresh, quality strings bring out a clear, warm sound. Old ones sound flat and lifeless.
- Technique: Good strings respond better to strumming, fingerpicking, and chord changes.
Acoustic String Types:
- 80/20 Bronze: Bright, crisp, great for lively strumming.
Phosphor Bronze: Warm, balanced, longer-lasting, perfect for both strumming and fingerstyle.
- 👉 For students, Phosphor Bronze is usually the best choice because it’s smooth, durable, and comfortable.
Gauge (Thickness):
- Light (0.012 – 0.053): Best for beginners — easy on the fingers while still producing rich sound.
My Personal Pick – Elixir Phosphor Bronze Light (12-53):
When I started, I struggled with sore fingers and dull tones until I tried Elixir Phosphor Bronze. Their special coating makes them smooth to play, they last for months, and they keep a warm, balanced tone that works for any style. These strings gave me the comfort to practice longer and the motivation to keep improving.

Beginner Tips:
- Wipe strings after playing to extend life.
- Change them every 3–4 months (or sooner if you play daily).
- Always tune with a tuner to stay in standard pitch (EADGBE).
👉 Remember: your strings are your guitar’s voice. Investing in a reliable set like Elixir Phosphor Bronze Light Gauge will make your practice smoother, your sound richer, and your journey as a guitarist much more enjoyable.
5. Capo – Unlock More Songs Easily
A capo is a small clamp you place on your guitar’s neck to raise the pitch of all the strings. It lets you play in different keys without changing your chord shapes — which means you can learn and play more songs faster.
Capo vs. Bar Chords (My Advice):
When I started, I avoided depending too much on the capo. Bar chords (like F major or B minor) were tough, but they built my finger strength and technique. If you rely only on a capo, you might miss that growth.
👉 My recommendation:
· Get a capo right away — many songs need it for the right sound.
· But don’t skip bar chords — master them first, then use the capo as a creative tool.
How to Use a Capo Properly:
· Place it just behind the fret bar (not on top).
· Make sure all strings press evenly — no buzzing.
· Re-tune after placing it (tension can shift tuning).
· Experiment with fret positions to discover new sounds.
👉 Bottom line: Learn your bar chords for strength, but always keep a capo in your gig bag. It’s essential for exploring songs, jamming with friends, and making your guitar journey more fun.